 You might find it a bit intimidating to start making fermented foods and you might be wondering how to do it. I recommend starting with sauerkraut a.k.a pickled cabbage. In my opinion sauerkraut the easiest, simplest, least-chance-of-screwing-it-up, ferment for beginners. As long as you make sure the sauerkraut stays submerged while it ferments, you really can’t fuck up.
You can do it with kitchen equipment you likely already own. And cabbage is cheap. Did I mention sauerkraut is way cheaper than buying high quality probiotics? It’s fun once you get the hang of it. Check out my review of Sandor Katz’s wonderful book, “Wild fermentation,” on the Fermenting Fridays series if you’re interested in making all kinds of fermented foods. It’s an indispensable reference work.
Ingredients:
Cabbage
Salt to taste(optional but recommended)
Flavorings to taste (optional. ex. dill, hot peppers, garlic, ginger, etc.)
Tools:
Sharp knife
Cutting board
Large bowl
Pounding implement
Container(s), glass or ceramic, with a lid
A weight to hold down jar contents
How to make sauerkraut:
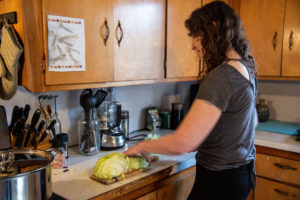 Pull the outer leaves off the cabbage and set them aside for another step. Chop cabbage into desired sized shreds. Bear in mind the cabbage will shrink as it ferments, so make it slightly bigger than what you would prefer in the finished sauerkraut.
Place shredded cabbage into your large bowl. Salt liberally to taste if you like. I recommend salting the cabbage for both flavor and for making the next step easier.
If you salt the cabbage let it sit for a few minutes. The salt will help draw out moisture from the cabbage. Massage the cabbage by wringing it between your hands.
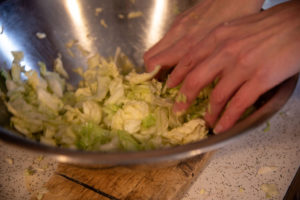 This requires a bit of strength. Alternatively, you can use an implement to pound the cabbage. Just make sure whatever you choose as your pounder is very clean.
The key here is to do it as long as it takes to release plenty of water from the cabbage. You may lose patience. Your hands might hurt (switch to the implement).
Keep going. Massage, wring, or pound the cabbage until it’s dripping when you pick it up. Don’t despair if your cabbage won’t get juicy.
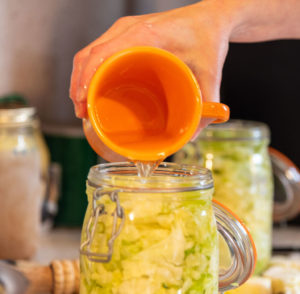
You can use regular water as long as it is not chlorinated. It’s even better if you use juice from a previous batch of sauerkraut. Give that kraut fermenting a jump start!
 Put the drippy cabbage and all the liquid into your container. Add your flavorings if you’re using them. Keep pushing the contents down so it’s a tight fill.
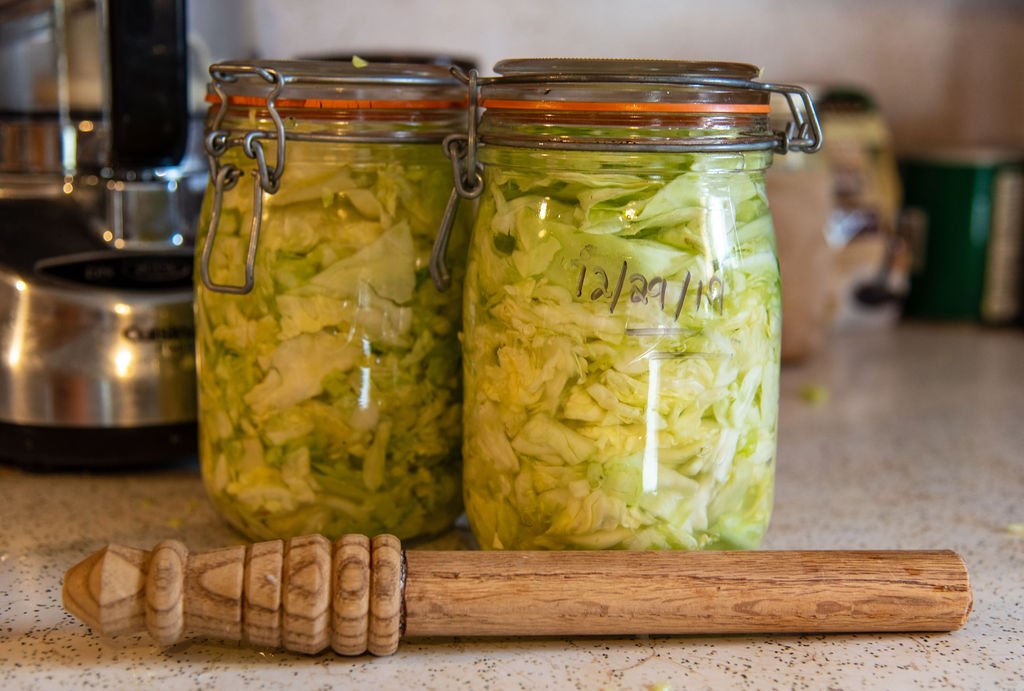
Leave some room at the top of the jar – about a finger or two. Roll the cabbage leaves you set aside and place them on top of the contents. These protect the top of the shredded cabbage from the weight you’re about to put on it.
All of the cabbage should remain submerged in the juice. Place a clean sterile weight on the cabbage to keep it submerged. The cabbage requires an anaerobic environment to ferment without spoiling.
 I have used anything from small plates to a boiled stone. I’m currently using mason jars for my containers and lids from Kraut Source, one of the things I I love. The Kraut Source lid uses a spring to keep the cabbage submerged.
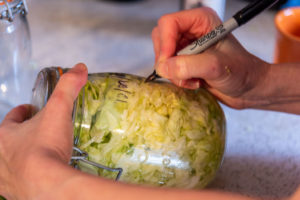
Cover the jar to protect it from dust, insects, etc. Label and date the jar. Put the jar aside away from the sunlight.
Wait for your sauerkraut to ferment. The temperature does make a difference in how fast the sauerkraut ferments. The hotter it is, the faster it goes.
Check on the kraut periodically. Ensure it stays submerged in the liquid. You should taste it once in awhile to gauge how tart it’s getting.
 Be sure your tasting cutlery is clean. Do not reuse. Your germs will mess up the good bacteria. The length of time between checks will vary depending on fast your sauerkraut is culturing.
Go with the flow. I check my ferments every day simply so I stay in the habit of checking routinely. It takes longer to describe how to make sauerkraut then it does to actually prepare the sauerkraut for fermenting.
Get brave, give it a go, and reap the rewards of probiotics.